
Create a Small Game from Scratch Series: Endless Standing First-Person Shooter
Level: Beginner
Type: Blueprint
Version: 5.6
Download Project
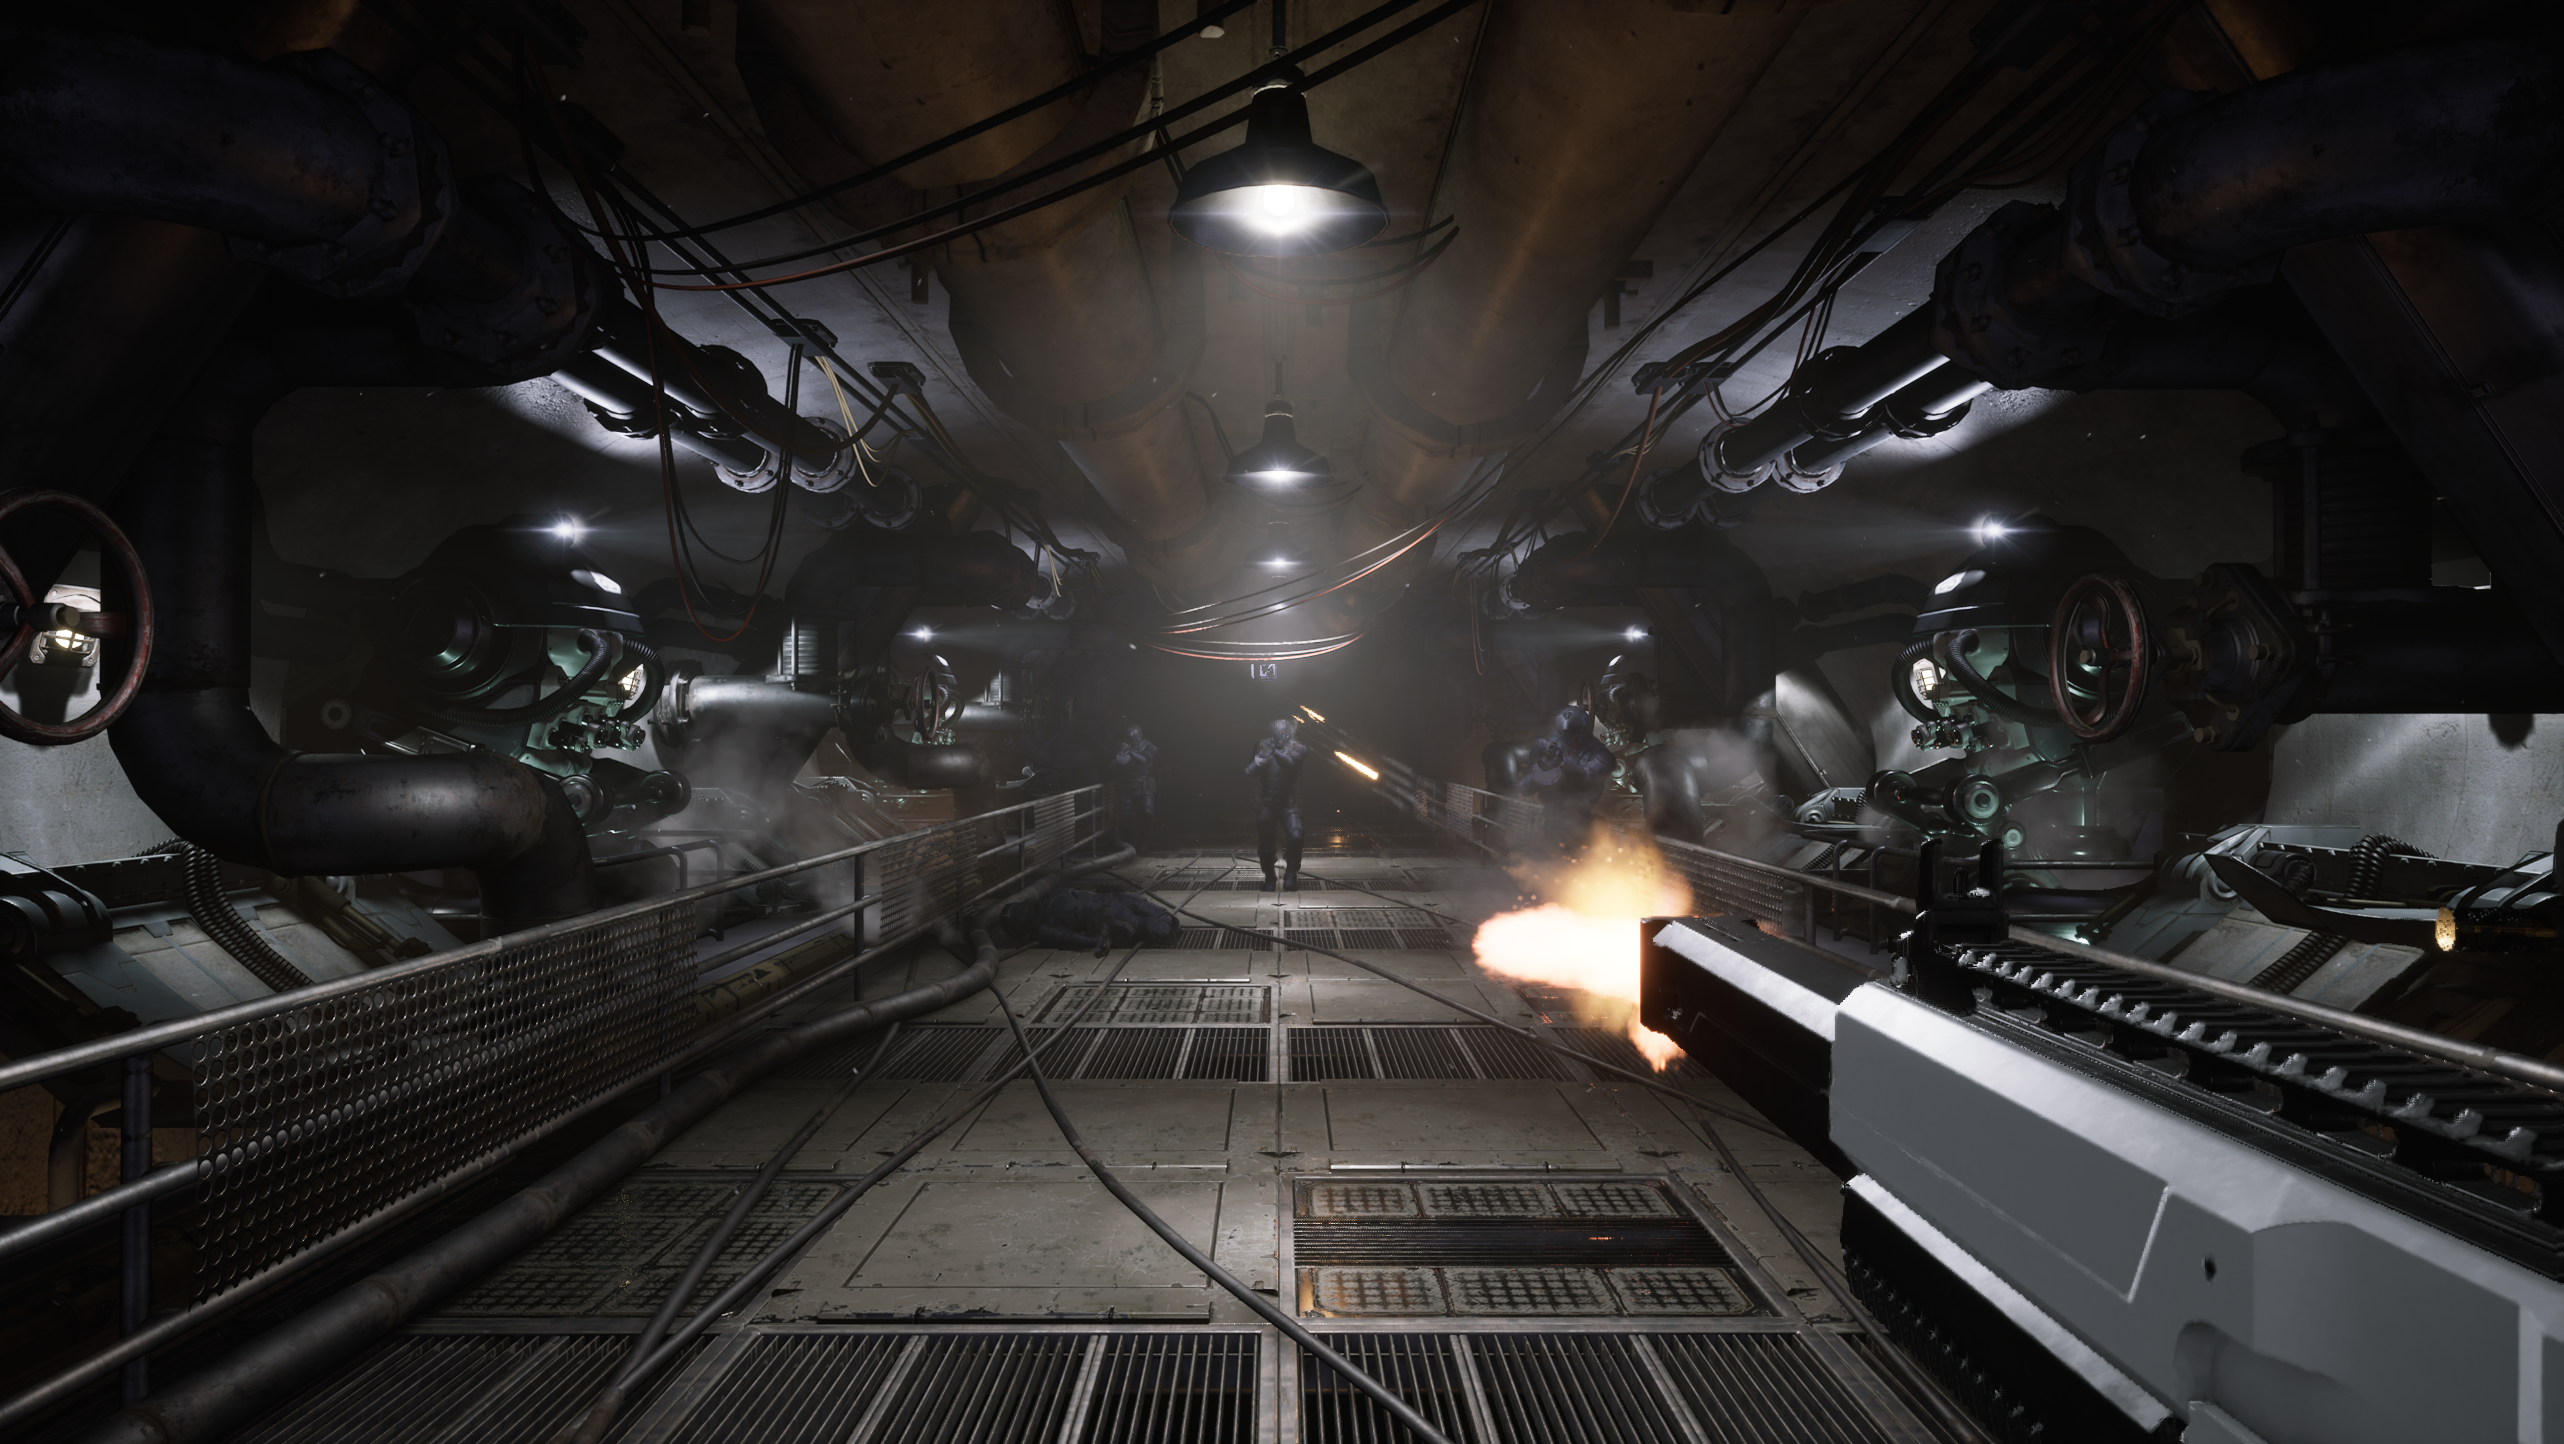
Last time, we implemented the Shotgun and polished the projectile functionality with bouncing. Now it’s time to work on the Rifle, which I’d also like to test and enhance by adding some new features to our weapon system.


Hi Level
There are a couple of things I’d like to focus on:
- Test the penetration feature – The rifle should be able to penetrate surfaces, making it useful when an enemy is positioned behind another target.
- Add an overheat mechanic – The weapon can heat up with prolonged use.
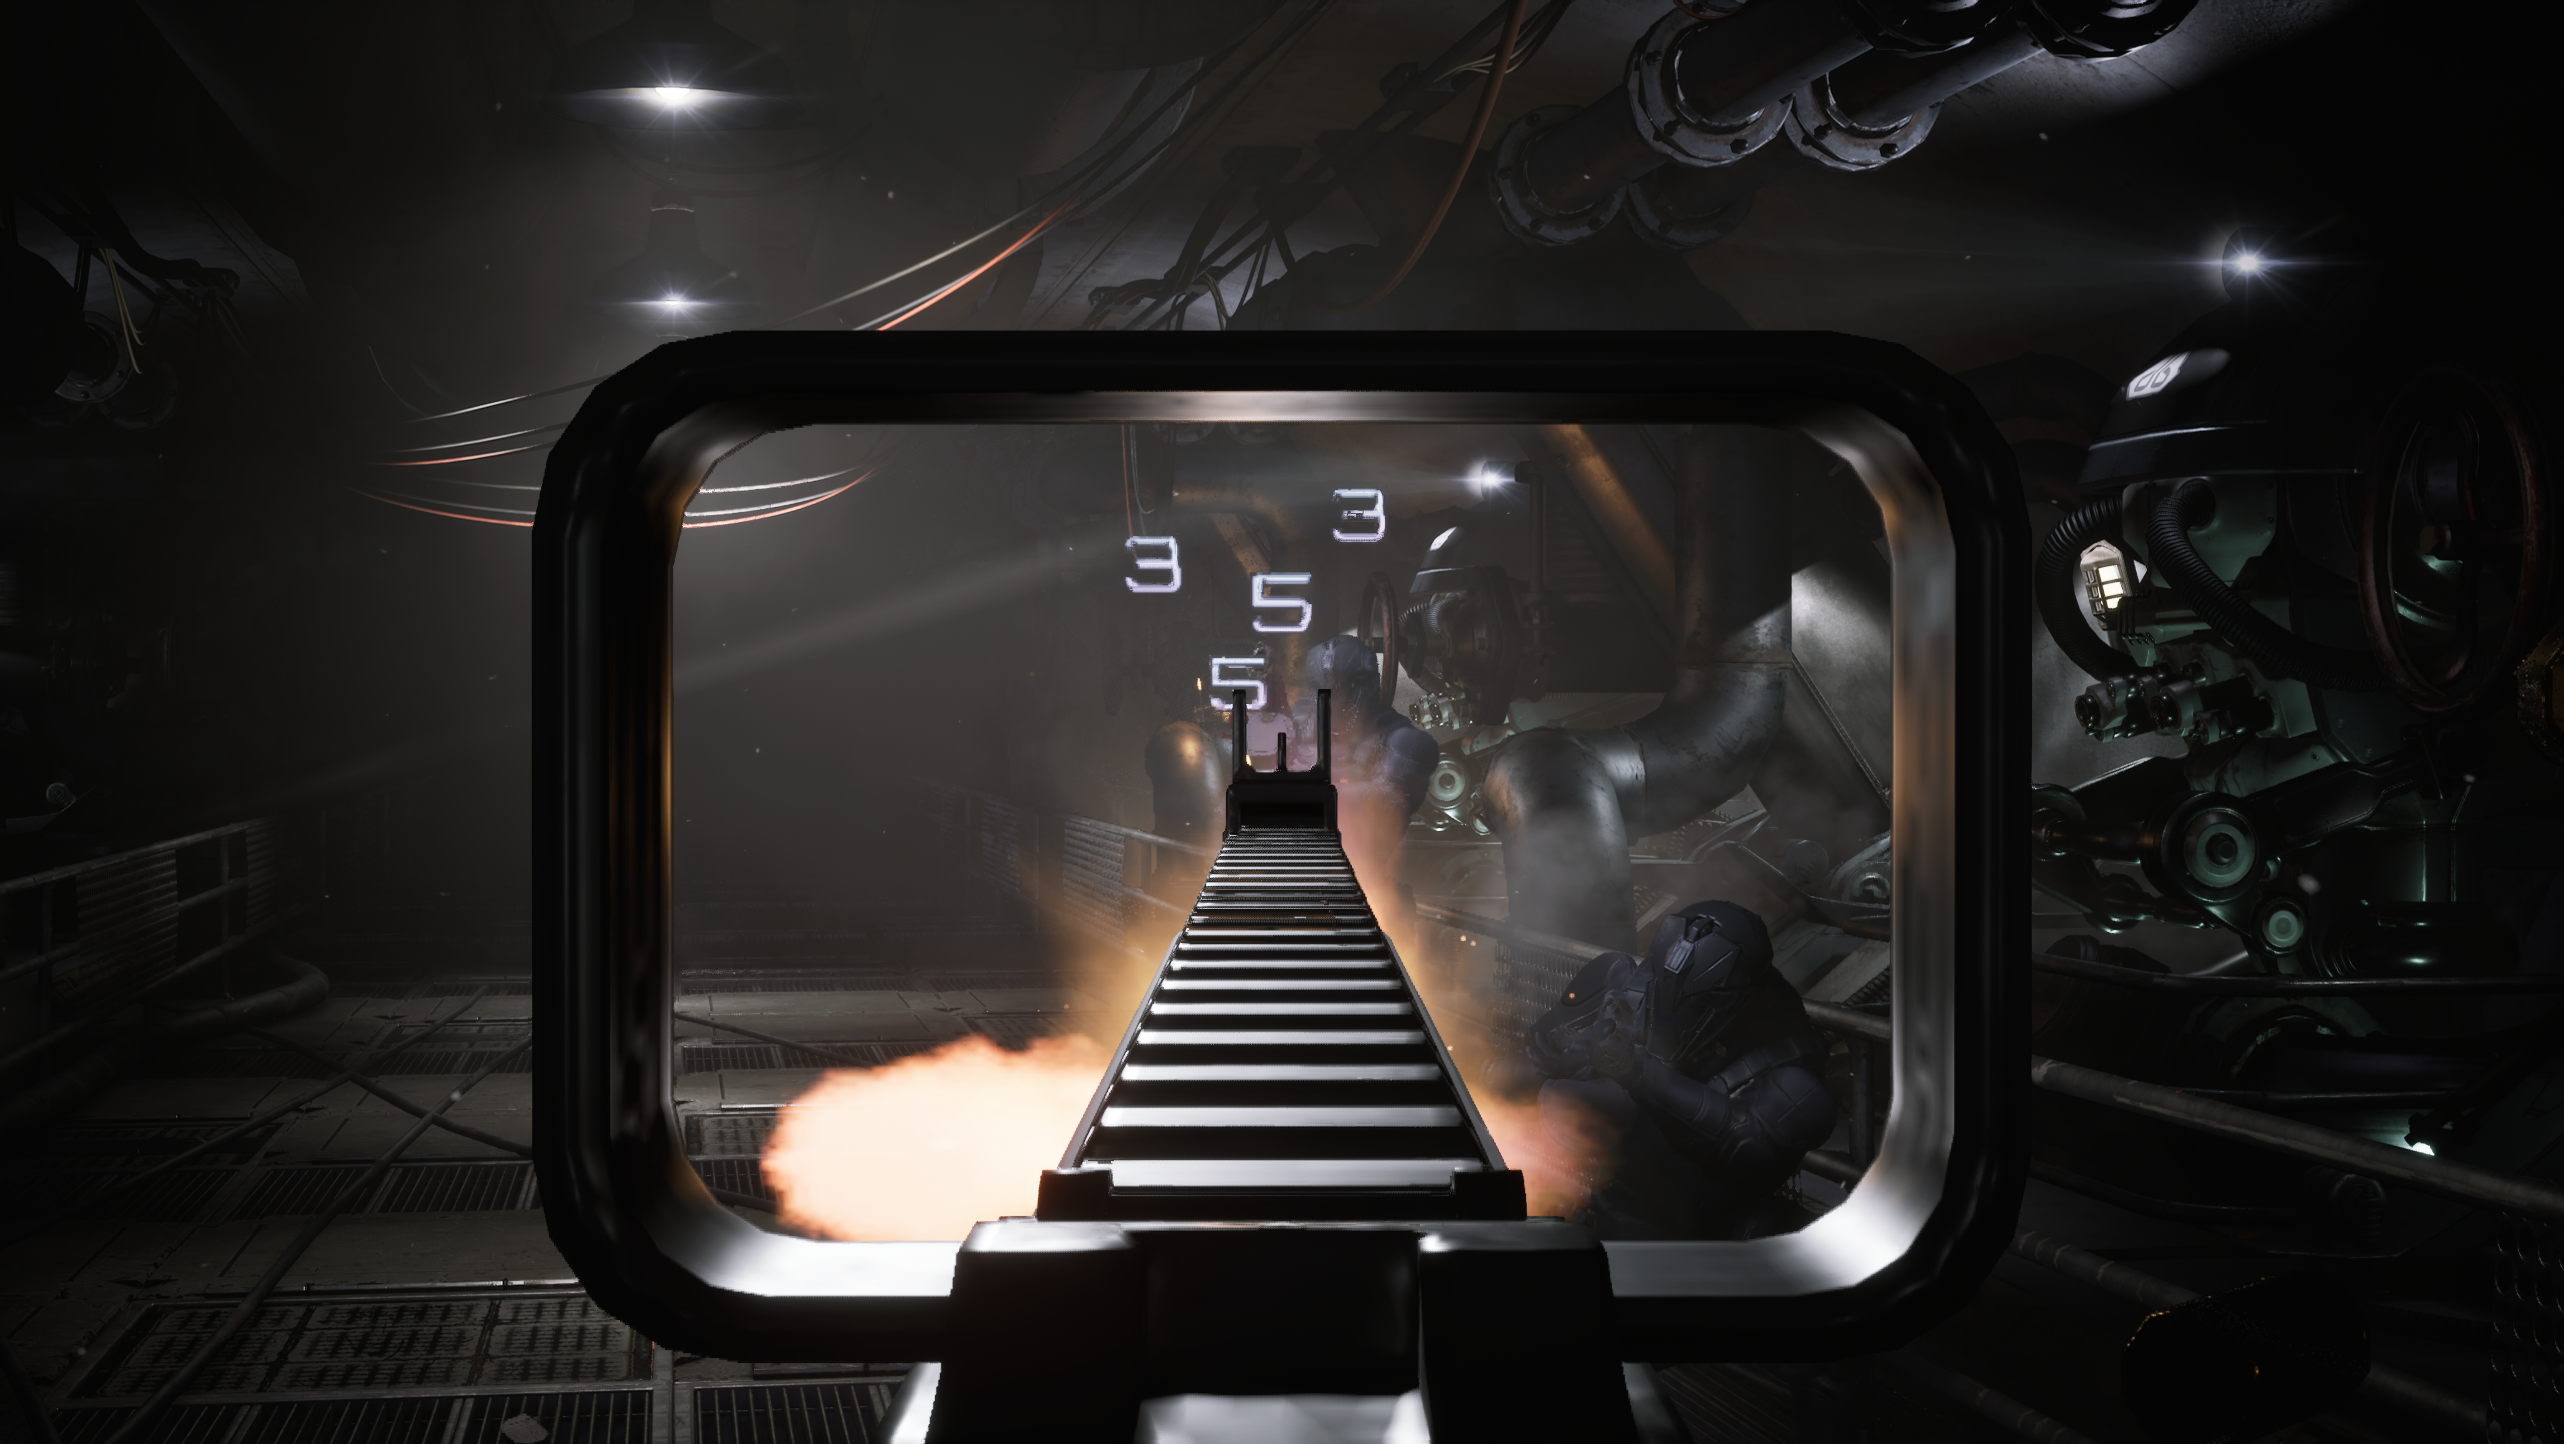
- Improve aiming for the rifle – Include the ability to disable the crosshair while aiming.
- Test automatic fire – The rifle should fire a high volume of bullets over time, making it effective against large groups of enemies.
Data
DA_Rifle.
Weapon mechanics configuration. Both fire modes use automatic fire, but the primary mode is slower than the tertiary mode. The overheat feature is also enabled.
DA_RifleAudioVis.
Audio-visual preset for the weapon. Based on the Rifle from the Lyra Example, including mesh, animations, and sounds. Uses a different crosshair material, with the new ability to hide it while aiming.
DA_Ammo_Rifle.
Ammo mechanics for the rifle. Uses trace-based firing instead of projectiles. The penetration feature is enabled for this bullet type.
DA_Ammo_Rifle_AudioVis.
Audio-visual preset for this ammo type. Similar to the pistol’s setup, but with an updated muzzle flash that includes a new effect. The smoke when firing is now more visible.DA_Ammo_Rifle_HitAudioVis
Bullet hit audio-visual preset. Currently the same as the pistol’s, but could be polished for the rifle with larger decals or more impactful effects.
Crosshair hide
I want to add functionality to hide the crosshair when the weapon is in aim mode. This should be optional, depending on the weapon.
FWeaponUIConfig
We already have a UI struct, so we can add a new variable: HideCrosshairInAim.
💡 Note: This is a good example of why it’s a good idea to store your data inside structs. It allows you to quickly add new variables and pass them through the code without implementing new functionality from scratch. Keeping data in structs also has additional advantages, such as easier replication, save and import/export.
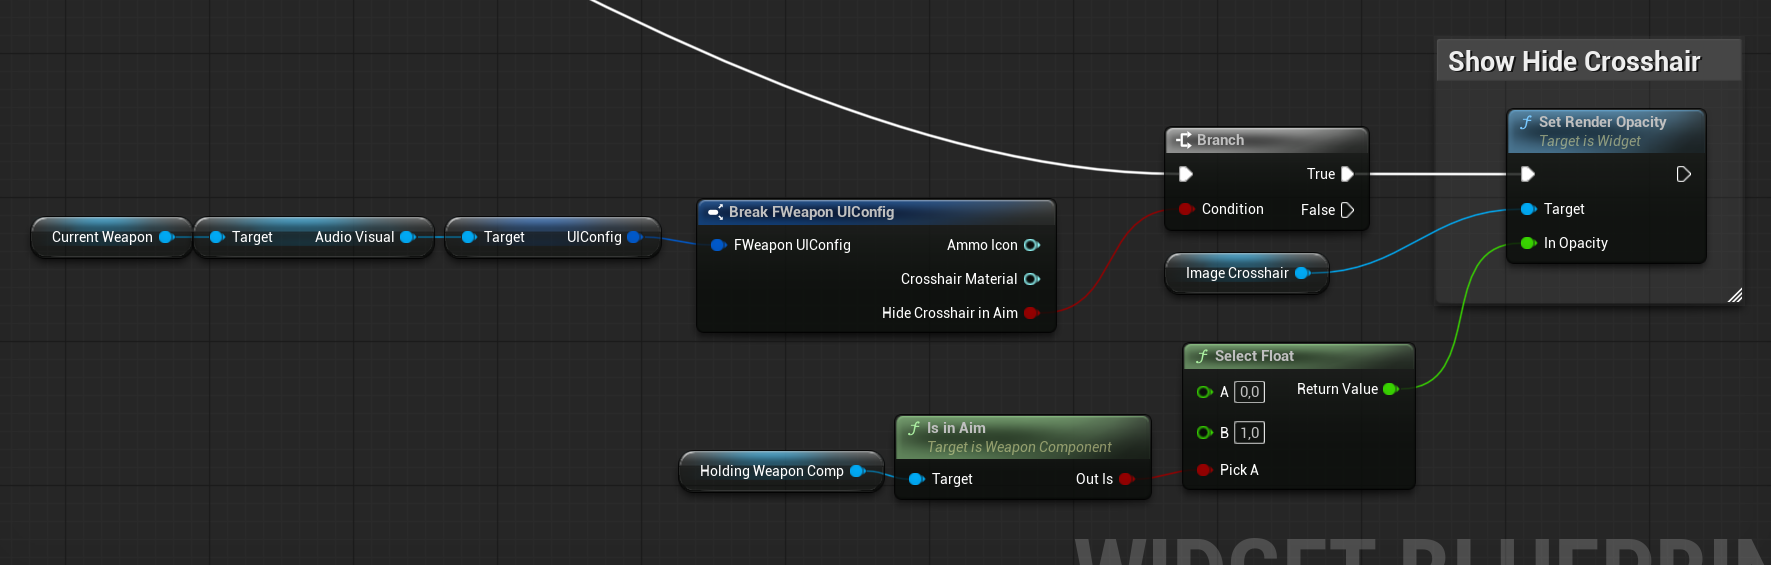
W_Crosshair
We already have a widget to display the crosshair, so integrating this feature will simply require updating that widget’s visibility logic.
Penetration
DA_Ammo_Rifle – In the ammo mechanics, we enabled the penetration feature that was implemented earlier in the weapon system.

It appears to be working without any issues.

Overheat
We implemented the overheat functionality during the weapon system development, but it hasn’t been tested much until now. The overheat feature can be enabled separately for each weapon mode, but for this weapon, I want a single overheat system shared between both the Primary and Tertiary modes, since it’s a single barrel.
The debug tools we implemented earlier are very helpful for testing this functionality.
FOverheatConfig
Added a new variable to the overheat configuration:
| UseDifferentMode | EWeaponInputActionType | Allows selecting a different mode to use the overheat config. |
WeaponComponent
We also needed to make some changes to the Weapon Component.
FireBullet function updates.
This part looks intimidating—and it is, mostly because of the Blueprints. Implementing such mechanics is generally better done in C++.

Here’s what happens when a bullet is fired:
- For each action type (Primary, Secondary, Tertiary), the system checks:
- If the action type is using a different overheat mode and if it’s the mode that actually fired.
- If yes, it also increases the current overheat for that mode.
- If the action type is using a different overheat mode and if it’s the mode that actually fired.
- If the actual mode that fired is using a different mode’s overheat config.
- also increases the current overheat for that mode.
Thanks to this logic, when the weapon fires, it can also increase the selected overheat for a different mode using the configured Overheat Increase parameter. This ensures consistent behavior when multiple modes share or influence the same overheat parameter.
Reload input function updates.
We’ve updated the reload input logic so that the player cannot use the cooldown period to reload the weapon. Overheating should act as a penalty for the player, not as an opportunity to reset the weapon through reloading.
We added two new functions to the Weapon Component:
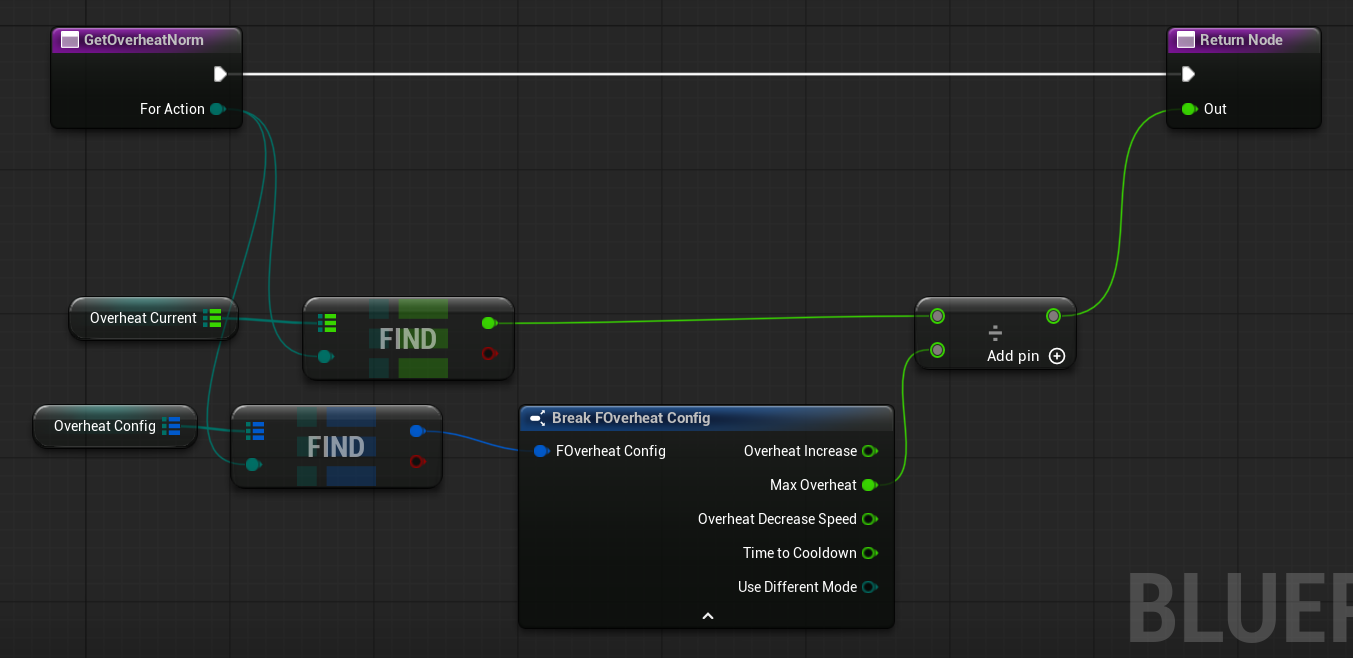
GetOverheatNorm (link)
Returns the current overheat level normalized between 0 and 1.
GetOverheatCooldownNorm (link)
Returns the current overheat cooldown progress normalized between 0 and 1.
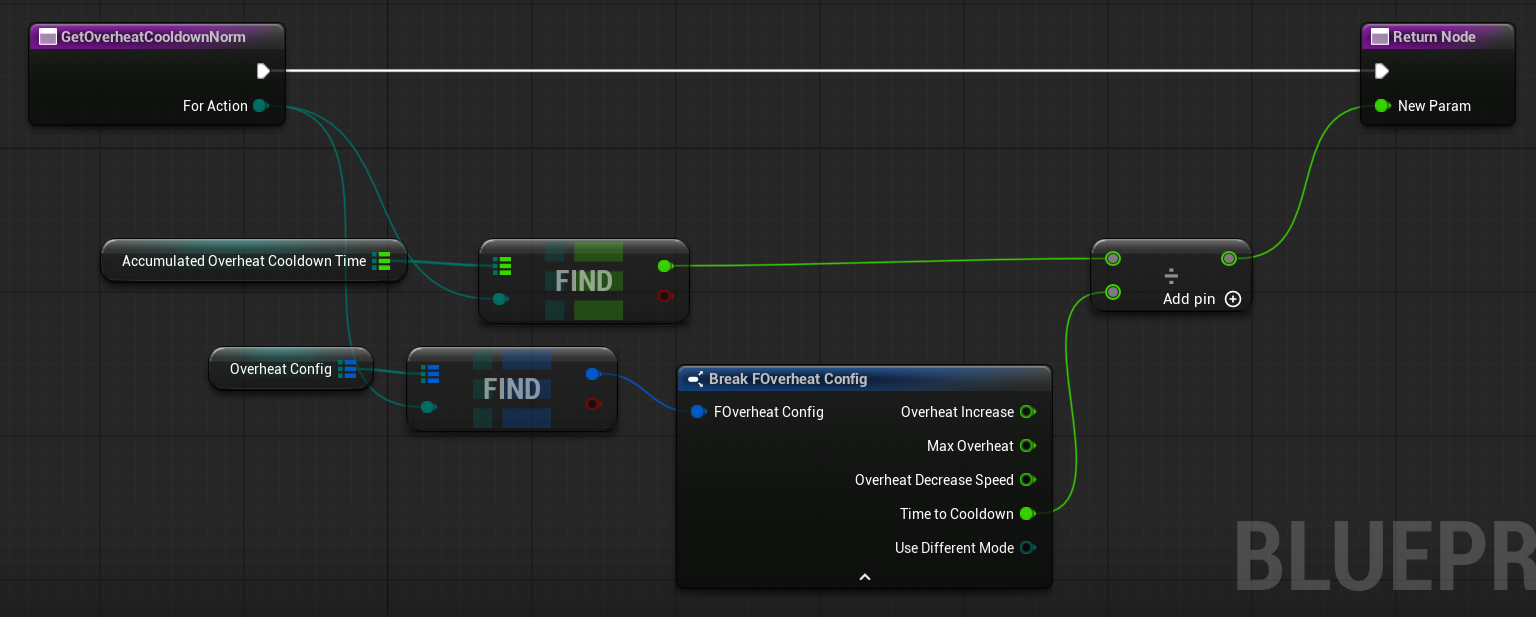
These functions make it easier to track and display overheat state in the UI or use it for gameplay logic.
UI
Now we need to add the overheat information to the UI. I will use W_Crosshair for this, as I want the overheat info to appear near the crosshair. For the visual style, I’m using the material from the Lyra Example—it works really well for progress bars.
I also don’t want to show the overheat information when the overheat level is low.
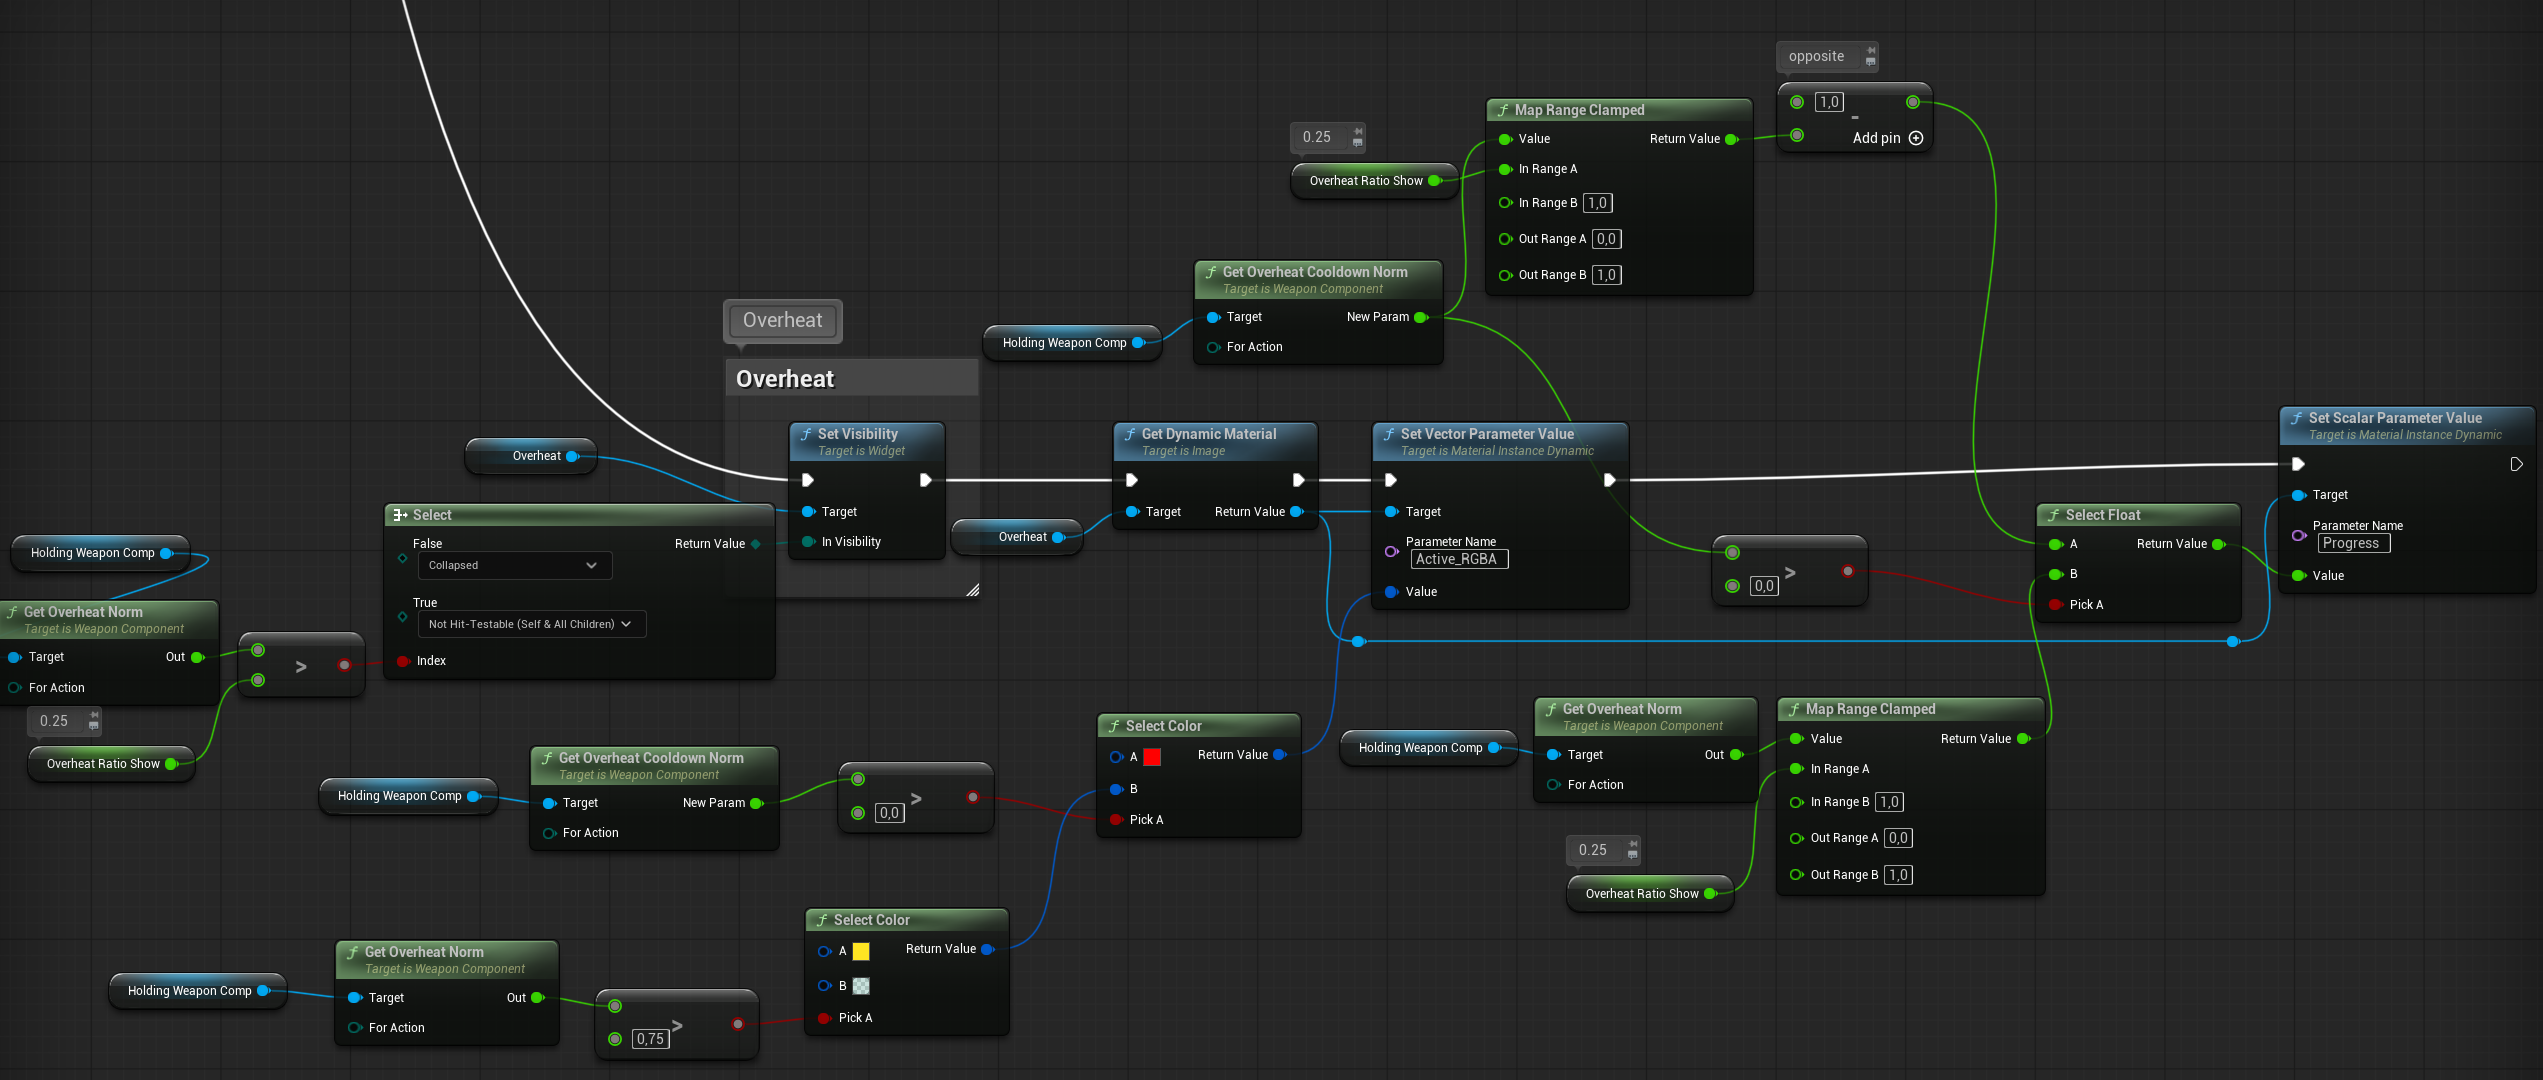
Here’s how the overheat image will be updated:
- It will only be displayed when the overheat is above 0.25.
- The color will change to red when the weapon is in the overheat cooldown state.
- The color will be gentle when the overheat is low.
- The color will turn yellow when approaching overheat.
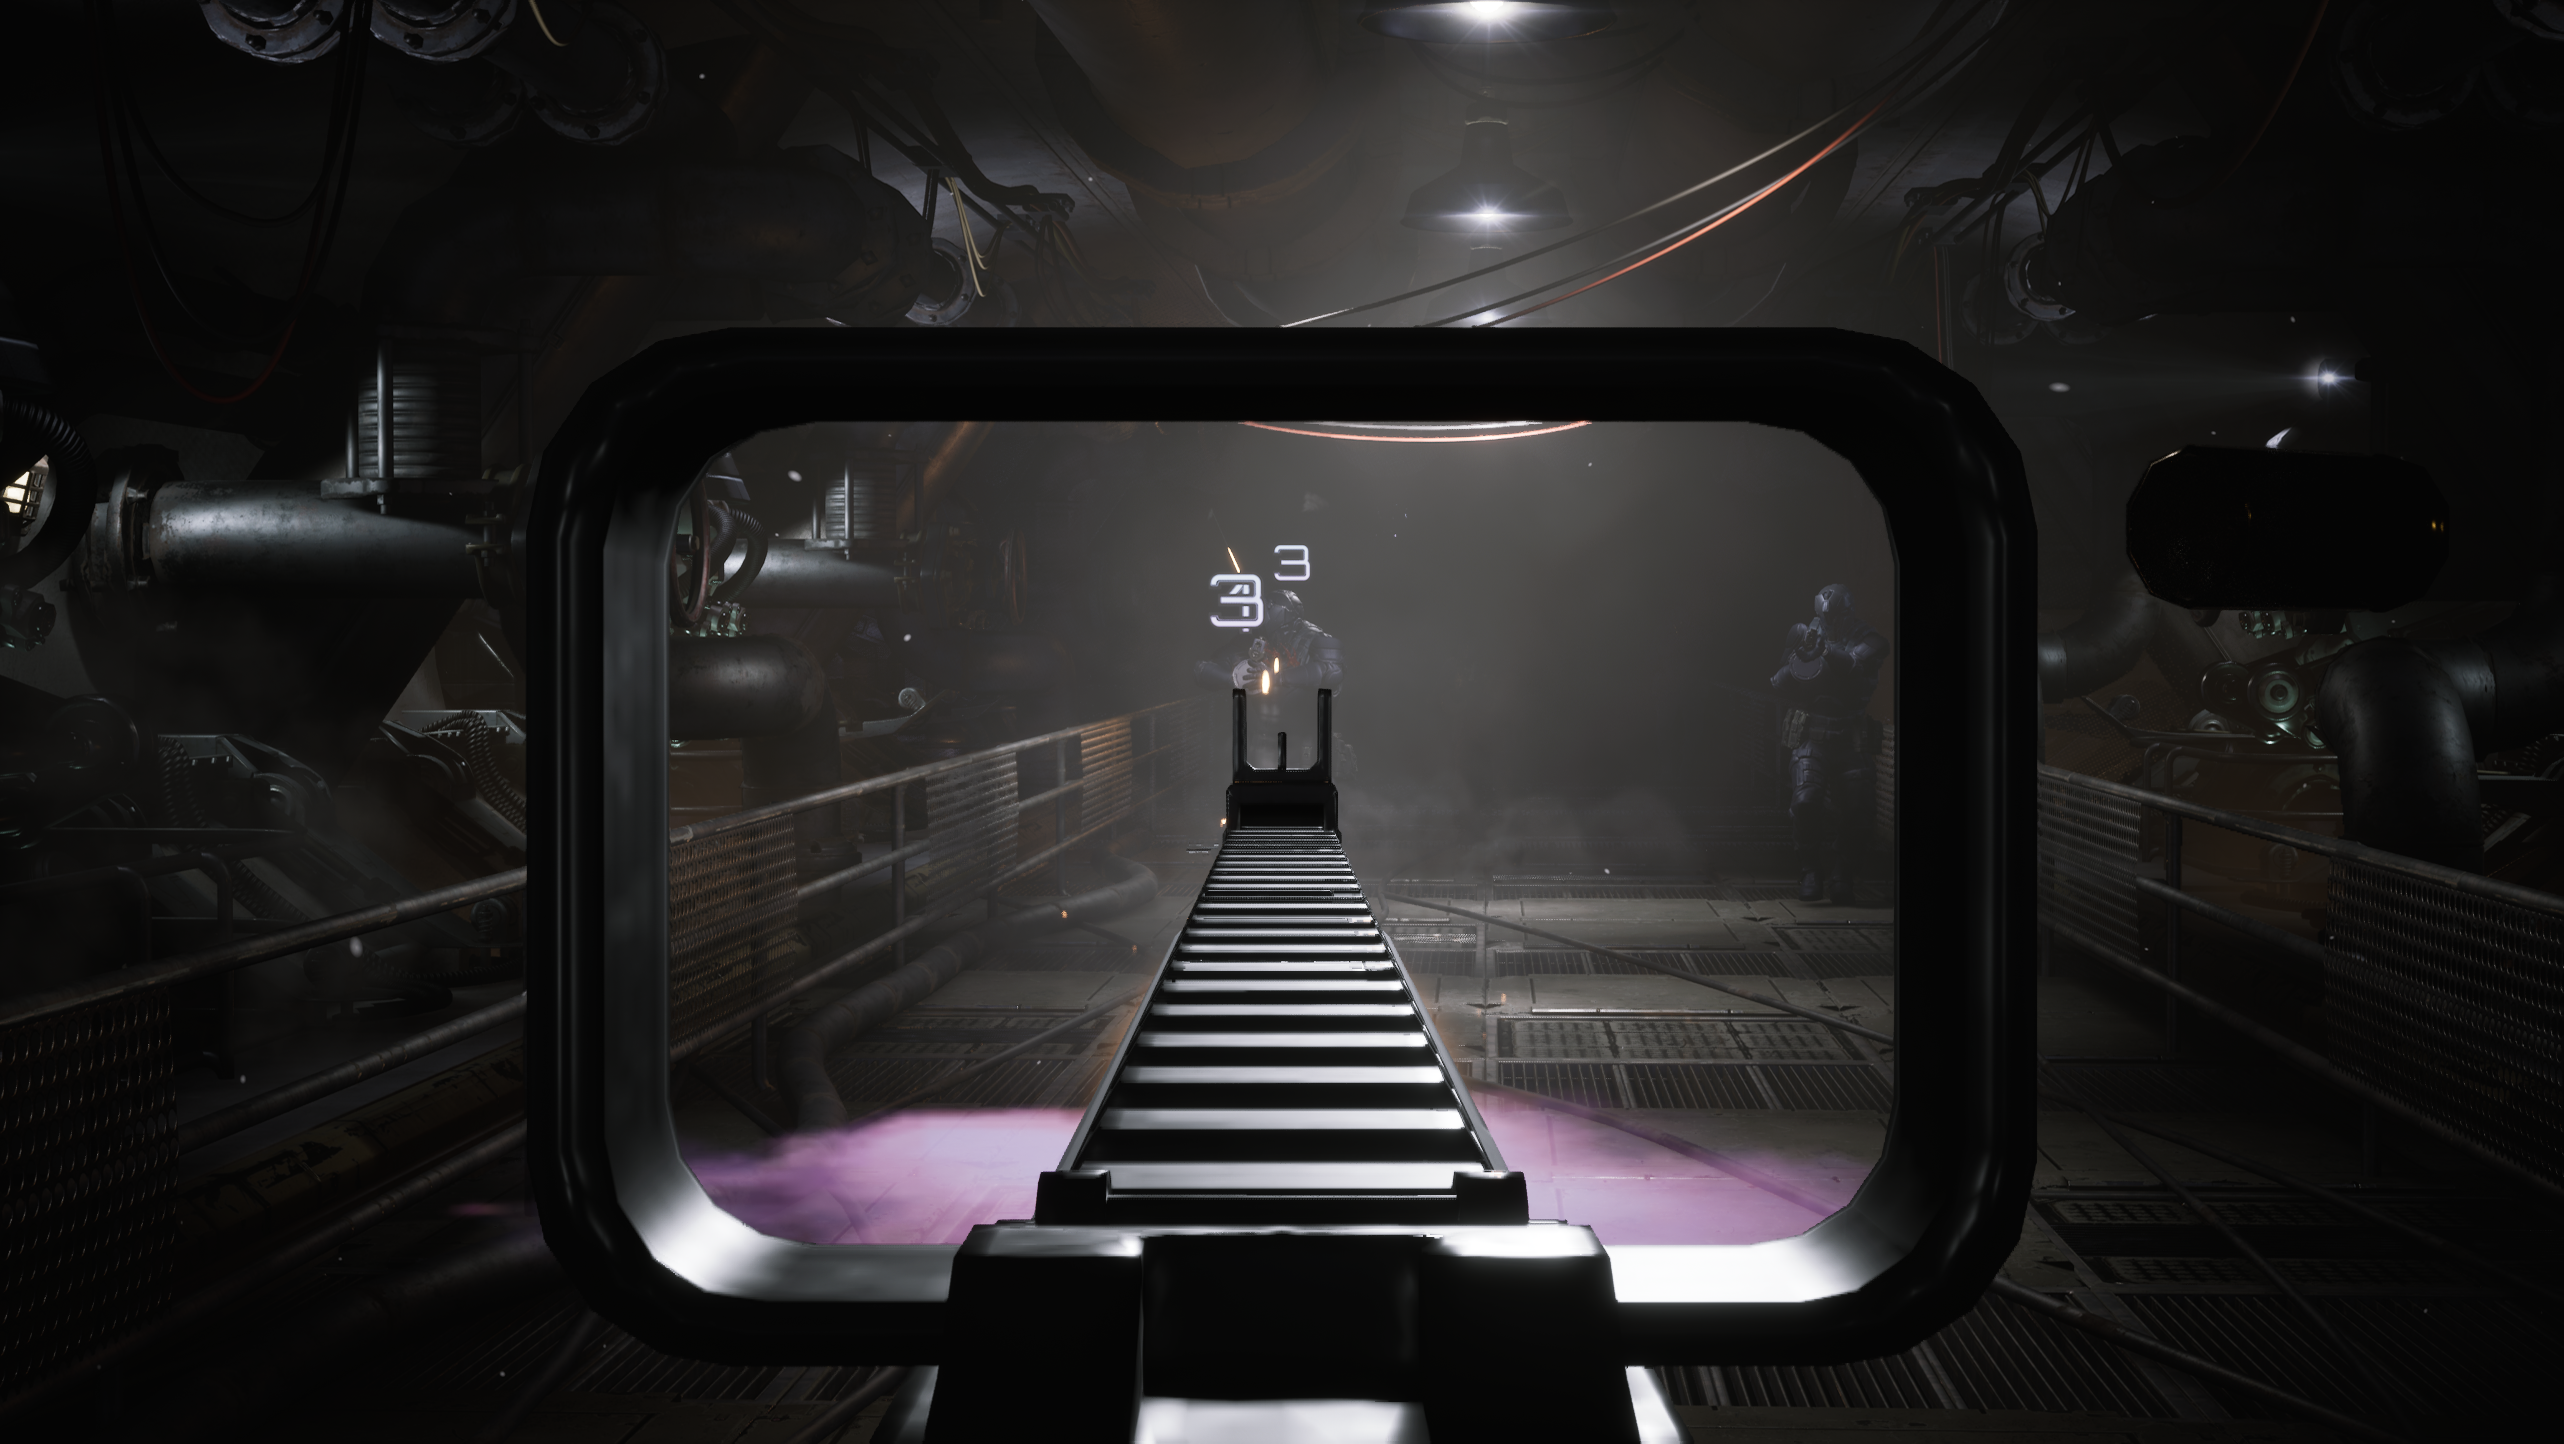
Show overheat on weapon
I would also like to show the overheat on the weapon. Just a small gentle effect.
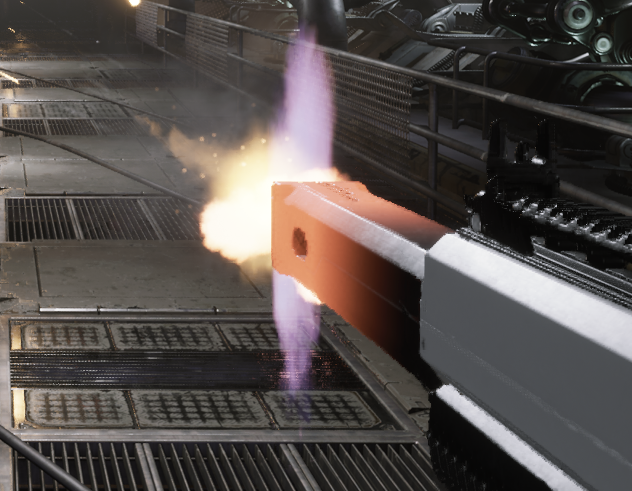
Normally, you could use a procedural mask to highlight the barrel. However, since our weapon is rendered in first-person, those calculations don’t currently work with first-person rendering.

That’s why I’m using vertex colors instead. I painted the mesh directly inside Modeling Tools.

An important detail is the use of Custom Primitive Data for the CurrentOverheat parameter. I don’t want to rely on material instances for this effect.
💡 Note: In general (90% of examples), it’s better to use Custom Primitive Data instead of dynamic materials. They are more efficent.
Now that we have the ability to make the barrel glow, we can update the Tick function in our Weapon Actor class.
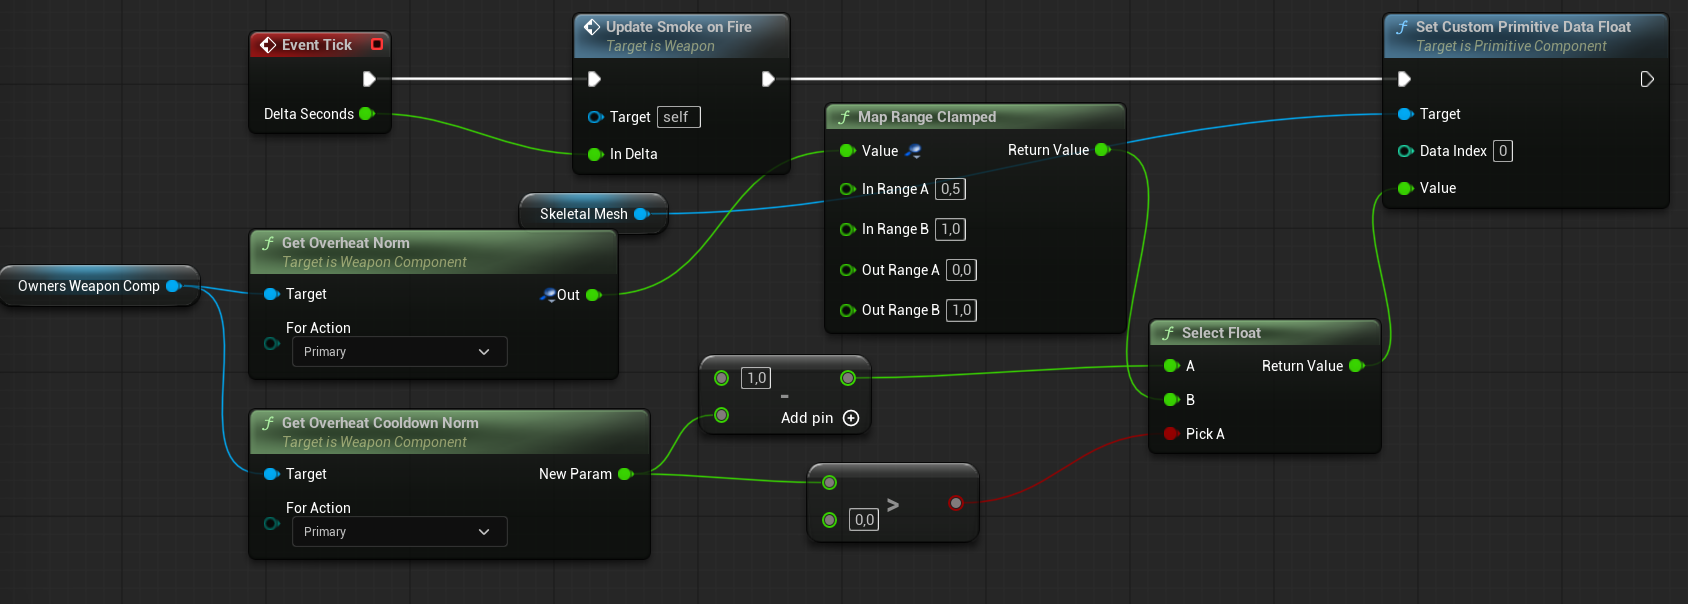
This allows us to update the Custom Primitive Data at index 0, which corresponds to the CurrentOverheat parameter in the material.
Currently, our overheat system is configured to display only one overheat value. However, it is possible to extend this for weapons with multiple modes—for example, an exotic weapon that fires from three barrels with different overheat values. Implementing that would be more complex and is outside the scope of this tutorial.
Muzzle Flash
Finally, the additional muzzle flash for the rifle.
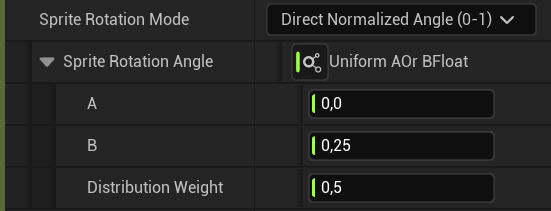
Open NS_MuzzleFlash_Gentle and check out the AdditionalMuzzle emitter. I’m using an old texture from the Shooter Example—it’s simple, but it achieves the effect I want.

The image is rendered a few times with random rotation, which produces a subtle “cross” effect.
This effect can be enabled or disabled using our parameter system, so it is currently only enabled for the Rifle.

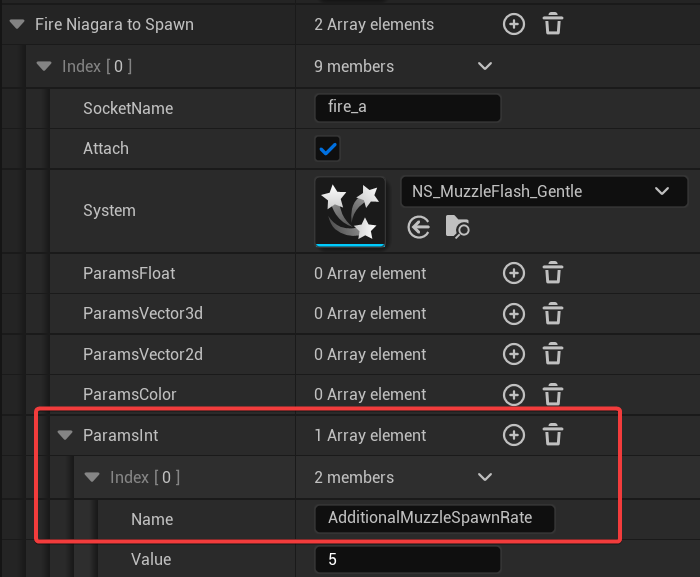
Additionally, we updated our base muzzle flash system to support this kind of customization for different weapons.
Conclusion
With each new weapon, we are refining and improving our weapon system. Ideally, every new weapon will be better than the last, because you learn what works well in your game and what doesn’t.
You can, of course, continue adding more weapons—rails, rocket launchers, Uzi, etc.—but for the purposes of this Shooter Tutorial, this completes the weapon setup.
Next, we will focus on implementing an inventory system that allows players to collect and swap weapons.

You must be logged in to post a comment.